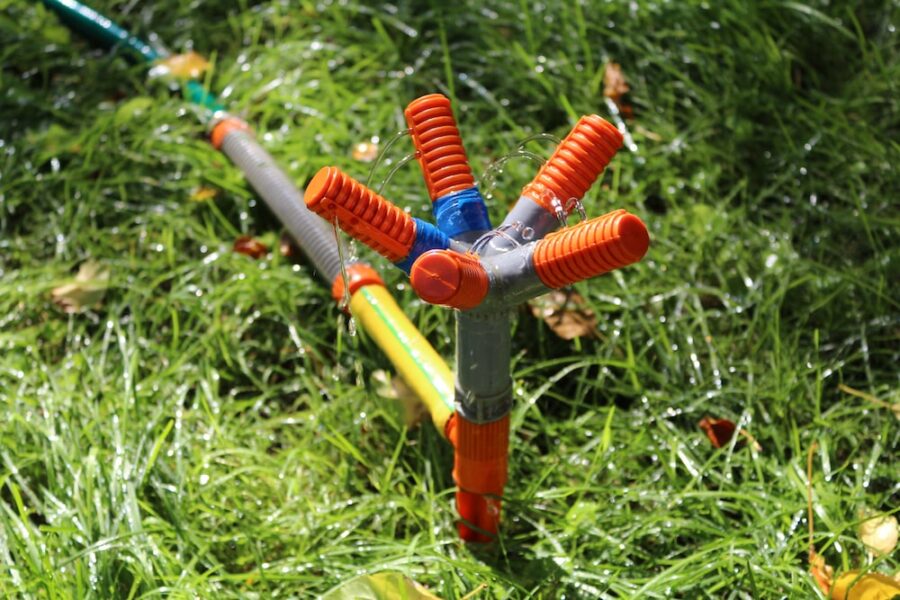
Sprinkler Repair Tips: It Will Be Easier!
Sprinkler systems are essential for keeping your lawn and garden healthy and beautiful. But when something goes wrong, it can be challenging to diagnose the issue. That’s why having all the information you need on hand, including sprinkler repair tips, is essential. In this blog post, we’ll share some helpful advice that will help you keep your sprinkler system running in tip-top shape.
Basic Troubleshooting Tips
If your sprinklers are not working correctly, there are a few basic troubleshooting tips you can try before calling a professional. First, check to ensure the water supply is turned on and the valve is open. Next, check the sprinkler heads to see if they are clogged or obstructed. Finally, check the controller to ensure it is set properly and the timer is working correctly.
If you still cannot get your sprinklers to work after trying these tips, you may need to call a professional for help.

How to Replace a Sprinkler Head
If a sprinkler head isn’t working correctly, it may need to be replaced. Follow these steps to replace a sprinkler head:
1. Turn the water off to the main valve’s sprinkler system.
2. Find the problem sprinkler head and remove it by unscrewing it from the riser.
3. Take the old sprinkler head to a local hardware store or garden center to find an exact replacement.
4. Screw the new sprinkler head onto the riser and turn on the water at the main valve. Test the new sprinkler head to make sure it’s working correctly.
How to Adjust a Sprinkler Head
Sprinkler heads are one of the most critical components of a sprinkler system, and it is essential to know how to adjust them properly. There are a few different types of sprinkler heads, each with its specific adjustment process.
The first step is to identify the type of sprinkler head you have. The most common types are impact sprinklers, rotary, and spray heads. Impact sprinklers have a large plastic or metal head that sits on top of the lawn, and they use a spinning mechanism to shoot water out in a circular pattern.
Rotary sprinklers also have a spinning mechanism, but they have a smaller metal or plastic head that sits flush with the ground. Spray heads are similar to impact sprinklers, but they have a nozzle instead of a head, and they can be adjusted to shoot water in different directions.
Once you have identified the type of sprinkler head that you have, you can start the adjustment process. For impact and rotary sprinklers, you will need to adjust the screw at the top of the head. This screw controls the amount of water that is released from the head. To release more water, turn the screw clockwise.
To release less water, turn the screw counterclockwise. You will need to adjust the nozzle for spray heads by turning it clockwise or counterclockwise. It is essential to test your sprinkler heads after making any adjustments to ensure that they are

How to Repair a Leaking Sprinkler Valve
If you have a leaking sprinkler valve, you first need to turn off the water to the valve. Then, remove the valve from the sprinkler system by unscrewing it from the pipe. Next, take the valve apart and clean all of the parts with a brush. Once everything is clean, reassemble the valve and screw it back into place. Finally, turn on the water and test the valve to see if it is still leaking.
Conclusion
Sprinkler repair can be daunting, but with the proper knowledge and skills, it doesn’t have to be. With these tips in mind, you should be able to diagnose and fix most sprinkler repairs quickly and confidently. If you find your issue more complex than what these sprinkler repair tips cover, or if you lack the confidence to tackle the job yourself, consider hiring a professional lawn care service for assistance.
