DIY Guide to Wash Machine Repair
Do you want to save money on expensive repair services? Why bother with a repair service when you can do a DIY wash machine repair yourself? Washing machines are an essential part of any household, and the costs of getting it repaired can really take a toll. So, if you want the satisfaction of being able to fix the machine yourself, this DIY guide to washing machine repair is exactly what you need.
1. D-I-Y How-to: Repairing Your Washing Machine

If your washing machine is acting up, don’t immediately start calling for expensive repairs. Instead, you can do some basic troubleshooting and repairs by yourself. Here’s how:
- Check the circuit breaker – One common cause for your washing machine not running is if the circuit breaker has been tripped. Check if it is in the On position.
- Test the lid switch – Is the lid not closing properly? Then first try and adjust any misaligned parts to see if that does the trick. If it’s broken, you can replace it yourself.
- Check the drain hose – Clogs in the drain hose could prevent the machine from draining the water out. If the machine is leaking, it could be due to a hole in the hose. Squeeze it while looking for any signs of damage.
- Clean the lint filter – Clogged lint filters can be a culprit for some of the functioning problems you could be facing as well. Take it out and give it a thorough cleaning with some warm water and a brush.
- Examine the agitator and/or belt – If the washer is not spinning or agitating, it could be due to a broken belt or a problem with the agitator itself. Taking off the bottom agitator is necessary to inspect the agitator and/or the belt.
These minor tinkering with some of the machine’s basic parts can be enough to get your washing machine running like normal again. Good luck!
2. Gathering the Necessary Supplies for the Repair Job
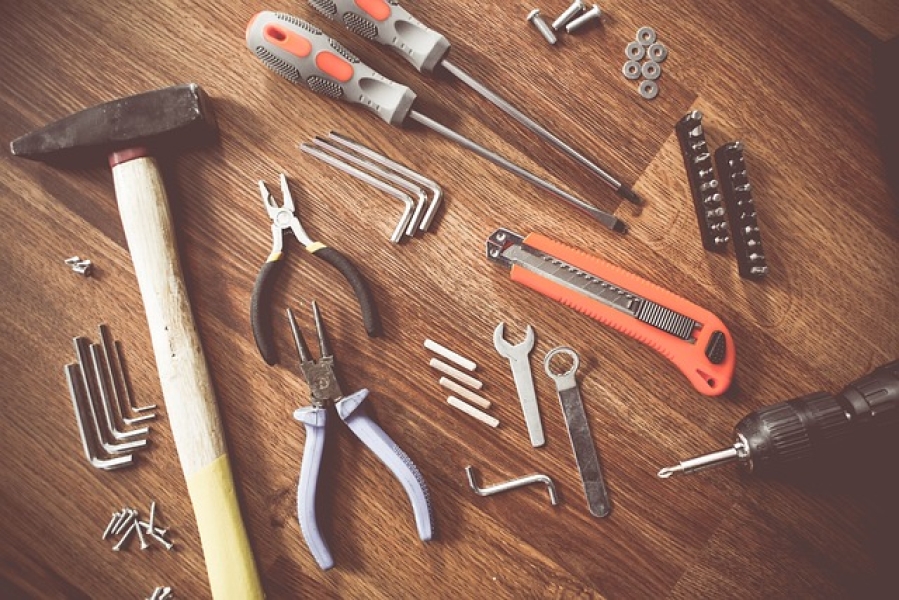
Once you’ve got your tools ready to go, the next step is to gather the supplies you’ll need to make the repair job as seamless as possible. Here are the essential supplies you will need:
- Replacement parts – have these ready to go before you attempt to make any repairs.
- Adhesives – to ensure everything stays where it should be.
- A utility knife – for cutting hoses, seals, and wires.
- A work light – you need to be able to see what you’re doing!
- Safety Gear – make sure you strap on the right safety gear whenever carrying out a repair job.
Depending on the repair job, there may be additional supplies you have to source, but the items above should be enough to cover most of the common situations you’ll find yourself in. Double-check you have everything you need before you start your repair work.
3. Diagnosing the Issues with Your Washer

When trying to diagnose a problem with your washing machine, there are a few steps you can take.
- Test the outlet – Make sure the outlet you’re using is working properly. Check your breaker or GFI, if necessary.
- Check for blockages – Check all of the hoses connected to the washing machine for blockages.
- Check the drain – Check for any kinks or blockages in the drain hose that may be preventing the water from draining.
- Check the machine for loose parts – Make sure all of the parts that may be loose are properly secured and tightened.
- Reset – If all of the above steps have been taken, try resetting the washer by unplugging it for five minutes and then plugging it back in.
If none of these steps seem to be helping, it is best to contact a washing machine repair specialist to help you diagnose and repair the issue.
4. Troubleshooting Common Washing Machine Problems
We understand how frustrating it can be when your washing machine isn’t working. Sometimes the solution can be easy to find and fix, so here are a few common problems and solutions:
- No power: Check the power socket for any tripped circuits, unplug the machine, and plug it in again. If the power still won’t come on then check the machine’s circuit breaker.
- Makes strange noises: Check the feet to make sure that they’re properly secured, debris or lint could also be causing the noise.
- Leaking: Check the hose connections and the water supply valve for any leaks. Detergents, fabric softeners, or hard water can also cause leaking.
- Machine isn’t spinning: Remove all clothes from the drum and check if it’s properly balanced. If it’s still not spinning check the belt and the motor.
- Doesn’t fill up with water: Check the water supply valve, lower the water level, and check for blockages in the hoses.
If these solutions don’t work, contact a professional to help you with the problem, or make sure to read the user manual for more troubleshoots.
5. Tips for Maintaining Your Washing Machine to Avoid Future Headaches

Maintaining your washing machine will keep it running smoothly and prevent unexpected headaches in the future. Here are 5 tips for keeping your washing machine in top shape:
- Run monthly maintenance cycles: Run an empty cleaning cycle once a month to prevent soap, mold, and bacteria build-up so it works efficiently and safely.
- Clean and air out the rubber seal on the door: Prevent mold build-up by regularly cleaning and drying the rubber seal on the door.
- Keep the outside of the machine clean: Wipe down the outside of the machine after each use with a soft cloth and mild detergent.
- Don’t overload the machine: Overloading the machine can cause undue strain and shorten the life of your washer.
- Replace hoses regularly: Replace the hoses every 5 years to ensure no leaks or cracks occur.
By following these tips, you should be able to keep your washing machine running with ease and peace of mind.
Conclusion
That’s it! That concludes our DIY guide to washing machine repair. Hopefully, this guide helped shed some light on what goes into fixing and maintaining a washing machine, and you can now feel more confident taking on any repair or maintenance projects for this appliance. Good luck and have fun!
Also read: Sprinkler Repair Tips: It Will Be Easier!
